B25bsaboy
Well-Known Member
- Local time
- Today, 11:03
- Joined
- Jun 9, 2020
- Messages
- 258
- Points
- 57
- Age
- 76
- Location
- Calgary
- First Name
- Richard (Rick)
- My Ride
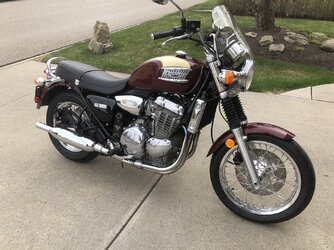
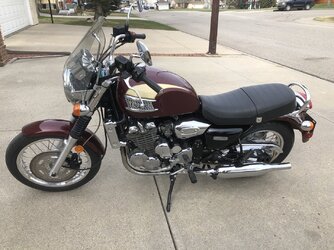
- 1970 Triumph TR25W, 1972 BMW R75/5, 1995 Triumph Thunderbird 900
Good day,
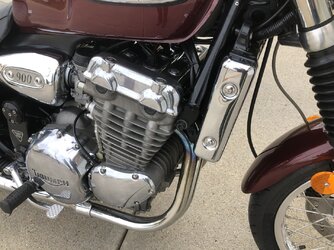
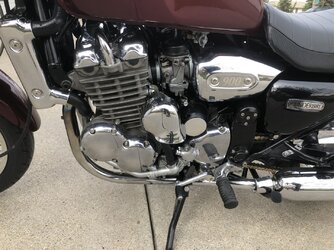
It has been slow as I take each module and concentrate on that area. The engine was first to replace the evil Sprag Clutch, which we all know on the early models the whole engine has to be split! There are time I wish my fellow engineers would take the time to put wrench's instead of drawing and building it!
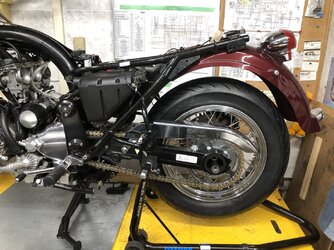
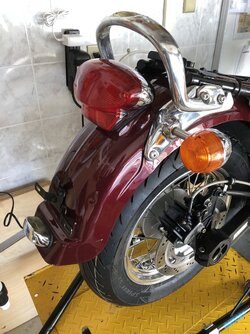
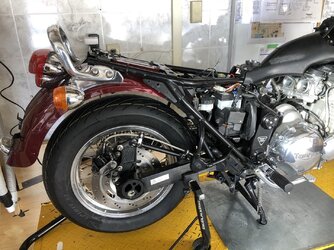
The back end is now done with the rims and hubs cleaned, new seals, fender cleaned and polished, new rear drive sprocket 47 TPI, new chain and the hydraulic hose line changed out to a stainless steel braided line. The rear signal lights stems have been replaced with stainless steel, as the factory original were pitted and starting to rust.
It has been slow as I take each module and concentrate on that area. The engine was first to replace the evil Sprag Clutch, which we all know on the early models the whole engine has to be split! There are time I wish my fellow engineers would take the time to put wrench's instead of drawing and building it!
The back end is now done with the rims and hubs cleaned, new seals, fender cleaned and polished, new rear drive sprocket 47 TPI, new chain and the hydraulic hose line changed out to a stainless steel braided line. The rear signal lights stems have been replaced with stainless steel, as the factory original were pitted and starting to rust.

")

 Oh the joys of being stupid!

 I see that I have some more work to do as the left front valve cover gasket (its new) needs some attention.